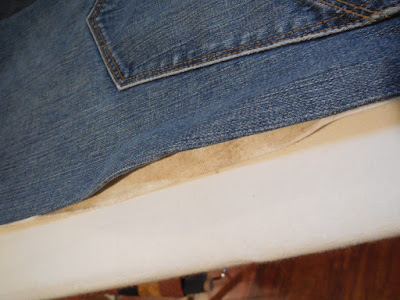
Isn't this just the cutest bag?
I love the recycled denim incorporating the pockets.


Start by breaking your jeans down into full lengths. Trim off the waistband and hem. Trim off the thick seams. This bag can be made with 1 pair of jeans, but I have used 2 pairs to have variety in color. You will require 2 pant legs with the back pockets and a bit of extra denim from the front of the pants.
Square up the pant legs to have long rectangle pieces of denim. Mine were 10" x 35" each. Sew 2 legs together, alternating the pockets. It is important to have a pocket at each end. Add 2 extra strips of denim (one to the top and one to the bottom of your pant legs) to make a length of 47".
The final dimensions of the denim panel are 19 1/2" x 47"
with a pocket at each end.
with a pocket at each end.
Trim your denim panel to 19" x 44".
Cut a piece of lining fabric 19" x 44".
Pin the lining to the denim panel and stitch together all the way around using a 5/8" seam allowance leaving an opening for turning. Keep the opening towards one end near the pocket.
Tip: Mark using 2 pins at each end of your opening to easily see as you sew.
Trim corners and turn right-side-out.
Press the edges all the way around the panel and press the opening edges under. It is not necessary to sew this together as it will get caught in a seam of the bag.
Pin mark 15" from each end on THE POCKET SIDE.
This will be the fold line for your seam.
Fold your panel right-sides together and sew
ON THE POCKET SIDE ONLY
with a 1/4" seam allowance.
with a 1/4" seam allowance.
Note: You are only sewing on one side of the panel
where the pocket is.
where the pocket is.
Now turn up 15" at the other end of the panel. Sew right-sides-together with a 1/4" seam allowance ON THE POCKET SIDE ONLY. This side is a bit awkward to sew as your triangle bag develops.
Turn your bag right-sides-out and you have an awesome bag!
Isn't it fun?
Isn't it fun?
I'm getting ahead of myself :) There is one more step...
Lap the top corners of the bag over each other
and sew together with a small square of stitching.
Please enjoy this and many other projects on my blog.
This content is provided free to you with lovely sponsorship and affiliate ads.
Please kindly take a peek at the sidebar for quilty connections.
Please click here for a lightweight and smaller version,
Please see the right side bar
at the top of this page
for my most popular posts.


No comments:
Post a Comment