Thursday, 31 October 2013

Super-Easy Cosmetic Bag


Here is a tutorial for a
quick and easy cosmetic bag.


It is self-lined, has a thin batting layer,
and closes like a sandwich bag :)


Cut one piece of fabric 12 1/2" X WOF (width of fabric).


Cut one piece of thin batting 12" X half of the WOF.


 With right sides together sew the short (selvage) edge of the fabric together 
creating a wide tube.  


  Turn the tube right-sides-out. 


Horizontal 

 Trim 3/4" off the length of the batting.  
Evenly insert it into the tube and smooth all layers together.
Gently press with the iron.  


Bring one folded edge of the batting-filled tube down 3".  
This is now the TOP of the bag. 
The open edges of the tube are now on the sides. 


 Bring the other folded edge of the tube up keeping it 3/4" from the TOP. 
On this photo you also see the seam that created the tube. 


 Pin and sew the side seams together, catching the batting in the seam.   
Finish the edges with a zig-zag or serger.  


 The 2 side edges sewn and finished.  


Turn the cosmetic bag right-sides-out and it is complete. 
  

It works for sewing supplies too.

 We make these at the Chinook Guild in Calgary, fill them with toothbrushes and toiletries, and donate them to shelters in our city...Melanie

Horizontal

Piecing Batting With a Wide Zig-Zag


Heart Block Tutorial


Odd Block Modern Improv
for your UFO blocks! 


Plaid Block Tutorial


Saturday, 26 October 2013

Sunrise & Sunset Over The Bow River


These paintings were done to represent the emotion felt by the people 
of the Alberta, Canada floods this spring.   
Emphasized in these works is the power of the water 
in relationship to the downtown buildings in Calgary, Alberta, Canada. 


 "Sunrise - City Over The Bow 1"  
by Melanie Rudy

 
 "Sunrise - City Over The Bow 2" 
by Melanie Rudy


"Sunset - City Over The Bow" 
by Melanie Rudy


From a quilting perspective, this is the color theory used for the above works. 


Monday, 16 September 2013

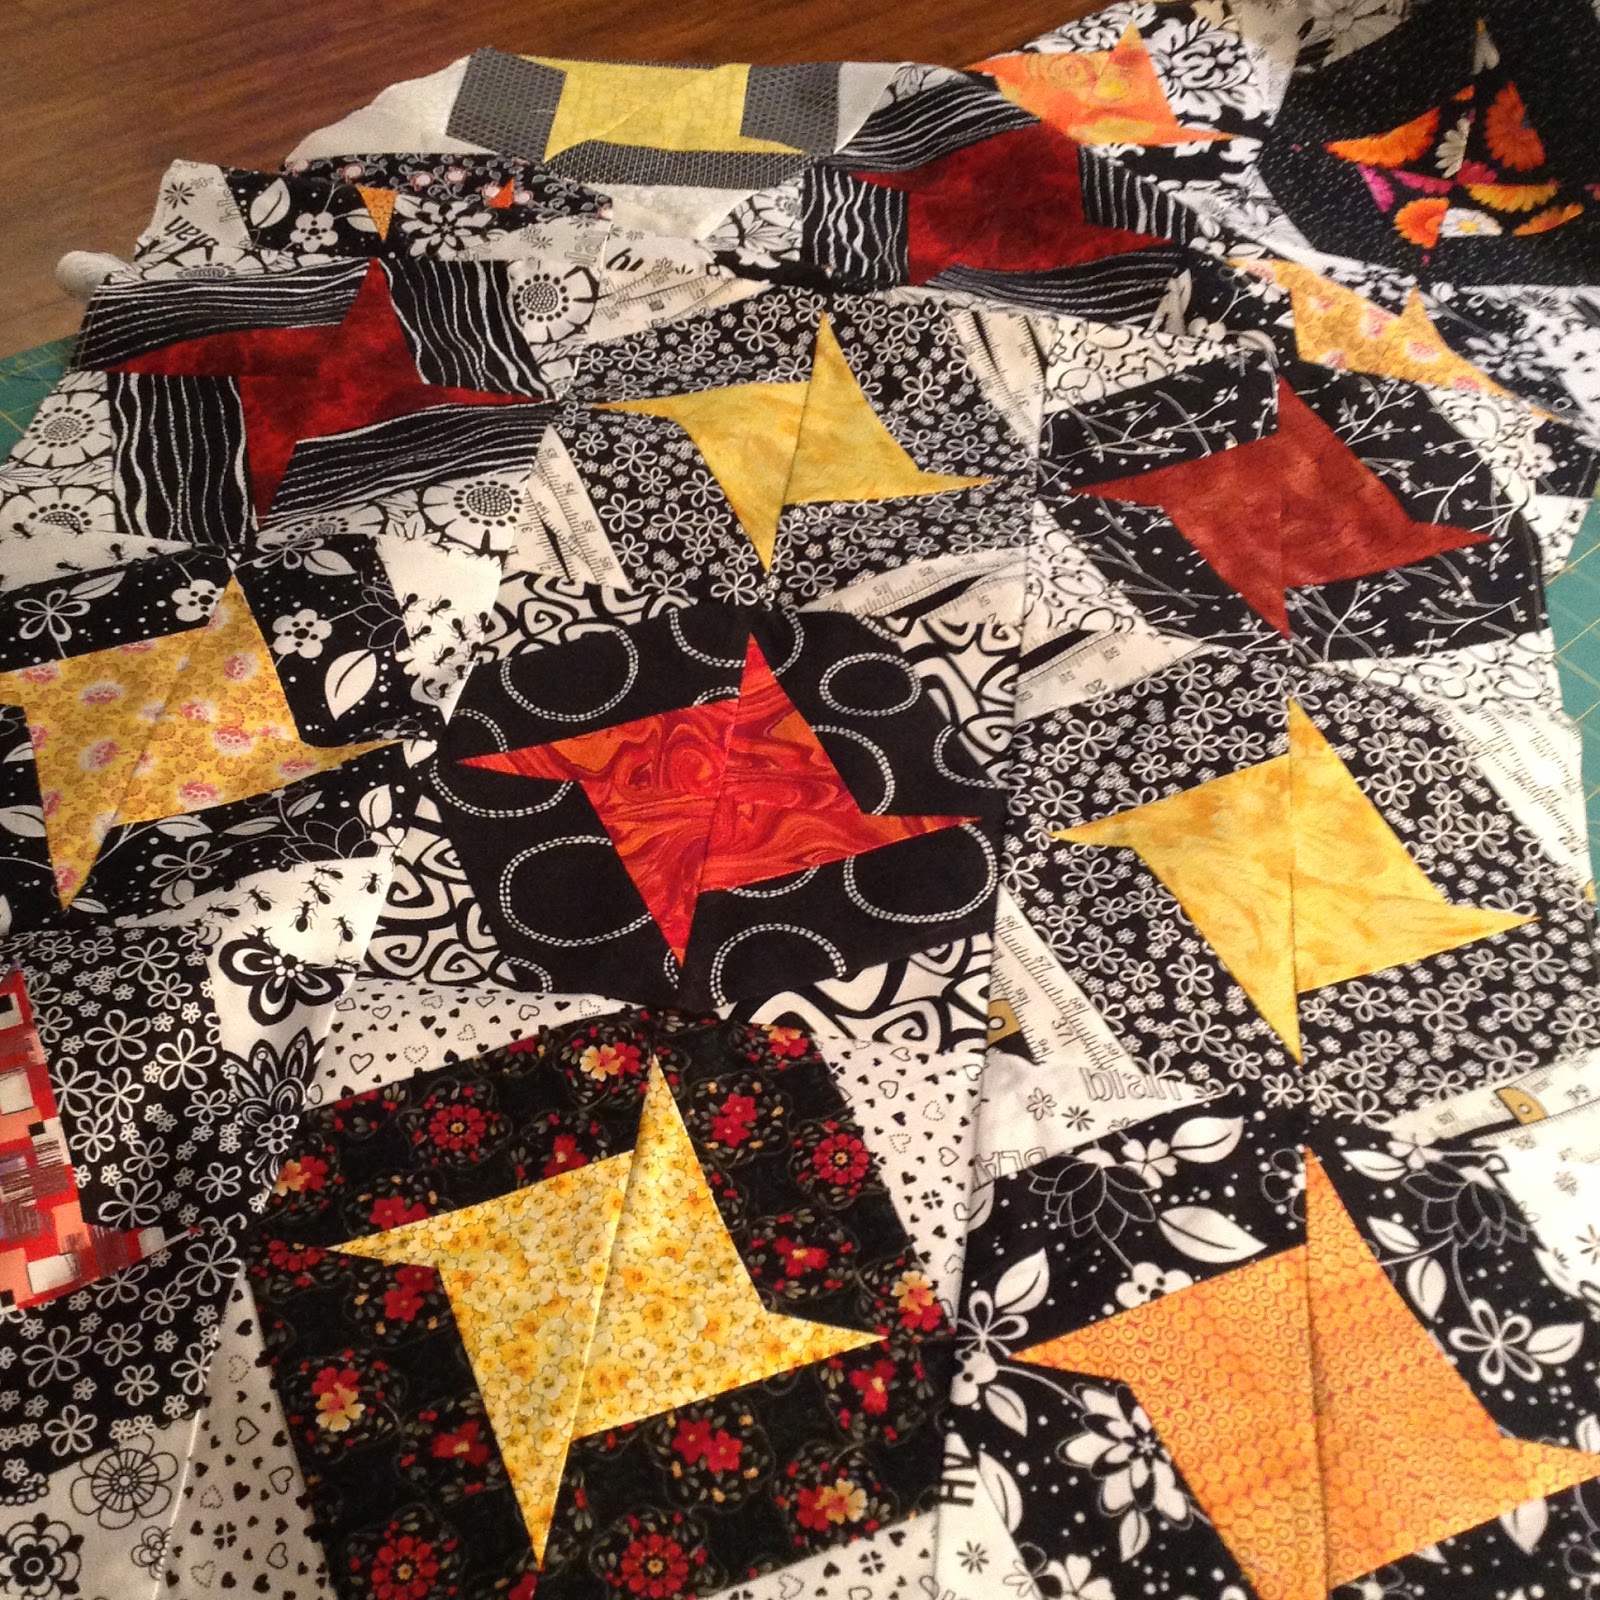
Double Option Stars


This is an excellent way to use your Black & White neutrals 
in combination with bright colors.


 For 1 or 2 blocks:

Cut:
1 - 2 1/2" Strip of each Black, White, and a Bright Color.

 Sew 3 - 2 1/2" Width of Fabric (WOF) strips together, 
keeping the black strip in the middle.  

Carefully line the sewn strips up on a cutting mat with the white strip on top.  


Place the 60 degree ruler line on the bottom seam line.   


Make your first cut on the right edge of the ruler.  


 Make this 60 degree cut as close to the strip ends as possible.  
You should be able to get 7 or 8 pieces out of the strip set. 


Now using the first cut as a guide, 
cut 4 1/2" pieces along the full strip set.   


Here are the pieces at this stage.  


Now trim each piece to a 4 1/2" square, 
centering the 4 1/2" on the strip set.   

 
Centering the ruler to make the 4 ½” block:

Use the center strip (black) as your reference point. 


Notice on the ruler where the 4 ½” line is. 

Use the points of the black strip (top left and bottom right of the black strip) to center your 4 ½” area on your ruler. 

Keep the black point at the top left and the black point at the bottom right even in the 4 ½” square. 


The squared up section.  


Now place 4 of the squares together making a star block to create this, 
Option 1 with the White Star. 


Or like this for Option 2 with the Yellow Star.  


Such a fun block to make!   
Please enjoy :)

 I am happy to share all information, images and tutorials from this blog, 
with links and credit given to Quilters…Enjoy Color!   
The contents on this blog are the property of Melanie Rudy at Quilters…Enjoy Color!    
Email:  quiltersenjoycolor@gmail.com


Sponsors and affiliate links keep this quilty content free to all.  
Please check out the sidebar for awesome stuff.  
Thank you for checking in, Melanie