We Canadians talk about the weather. Everyday. Every conversation. A lot of what we do is affected by it. How we dress. Where we go. When we go.
It is consistent that the weather changes. It's gentle and extreme. It's beautiful and harsh. It shows up in the colours of warm and cold. In the Alberta foothills we enjoy the Chinooks and the mark they make on the sky as they appear as a gorgeous arch.
When I saw my first temperature quilt, I thought how interesting it would be to make one. I love the opposing colours of the climate in fabric and the way they appear in visual pattern.
I am doing a simple improv method for this quilt that I share with you in this post. For each day it represents the high and low temperatures against the sky. I chose to add the sky component for added weather documentation.
This content is provided free to you with lovely sponsorship and affiliate ads. Please kindly take a peek at the sidebar for quilty connections.
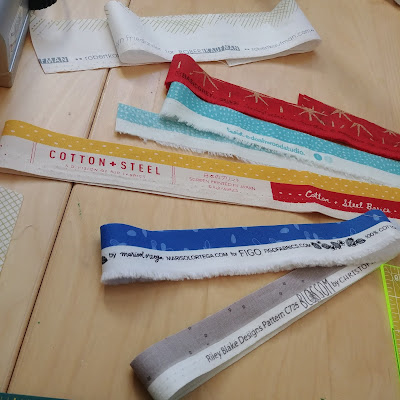
Fabrics provided by
Materials:
1.5m of each colour of fabric for your temperature blocks and sky.
Step 1:
Select your fabric. Each fabric in my quilt represents 10 degrees in Celsius. The colours for the sky represent sunny, cloudy, and mixed sky days. For more on the colour palette please see this post: Temperature Quilt / September 2020 - August 2021
Step 2:
Remove selvage edges for future reference.
Step 3:
Cut WOF (width of fabric) strips 3" wide. To begin you will only need 1 strip of each colour. You can cut these throughout the year as required.
Step 4: CUTTING:
Cut a 5" x 3" strip of your High Temperature colour for the day.
Cut a 4" x 3" strip of your Low Temperature colour for the day.
Cut a 5 1/2" x 3" strip of your Sky Colour for the day.
Step 5:
Using a 1/4" seam allowance, sew the High and Low temperature strips together, keeping the High Temperature strip on the left side. This layout is important so that your angle is consistent for all of your blocks.
Fabrics provided by
Step 6:
Place the sky fabric above the Temperature Strips.
Please note: at the time that I did this photography
Step 7:
Overlap the temperature fabric strips onto the sky strip as in the photo above. Be sure to leave enough of the sky fabric under the temperature fabrics to accommodate the angle that you will cut next.
Step 8:
Cut the Improv Angle for your block. Any angle is fine and this can change from block to block. Watch that your angle goes thru the 2 layers of fabric from edge to edge. Remove the excess bits of fabric that you have cut off of the 2 layers.
Please see more options for cutting the sky fabrics on this post:
Melanie's Temperature Quilt - Organizing & Tips
Step 9:
Right sides together, sew the Sky fabric to the Temp fabrics using a 1/4" seam allowance.
Step 10:
Press the seam in the way that you prefer. I like to press towards the sky fabric.
Step 11:
Trim your block to 5" square.
Using painters tape on your ruler to mark the 5" square is quite helpful.
Step 12: A beautiful temperature block.
This particular block represents:
Fabrics provided by
This content is provided free to you with lovely sponsorship and affiliate ads.
Please kindly take a peek at the sidebar for quilty
connections.


So cool!
ReplyDeleteHey thanks friend! Happy Friday!
Delete